Unleashing Customer Power: Integrating Amazon Connect with Salesforce
If you’re looking for a way to enhance customer service in your business, integrating Amazon Connect with Salesforce is the solution you need. Every interaction—whether it’s a phone call, chat, or email—plays a key role in shaping how customers perceive your brand. This is why integrating your cloud contact center with a powerful CRM like Salesforce isn’t just a tech upgrade—it’s a strategic transformation.
This integration gives agents real-time access to customer profiles, past interactions, preferences, and concerns—all without toggling between platforms. As a result, they can resolve issues faster, reduce call times, and create the kind of seamless experience that builds loyalty and trust.
In this article, we’ll explore what this integration entails, the real-world benefits it offers, the industries that gain the most, and how companies like Odea are leading the charge in delivering scalable, customer-first solutions.
What Is Amazon Connect Salesforce Integration?

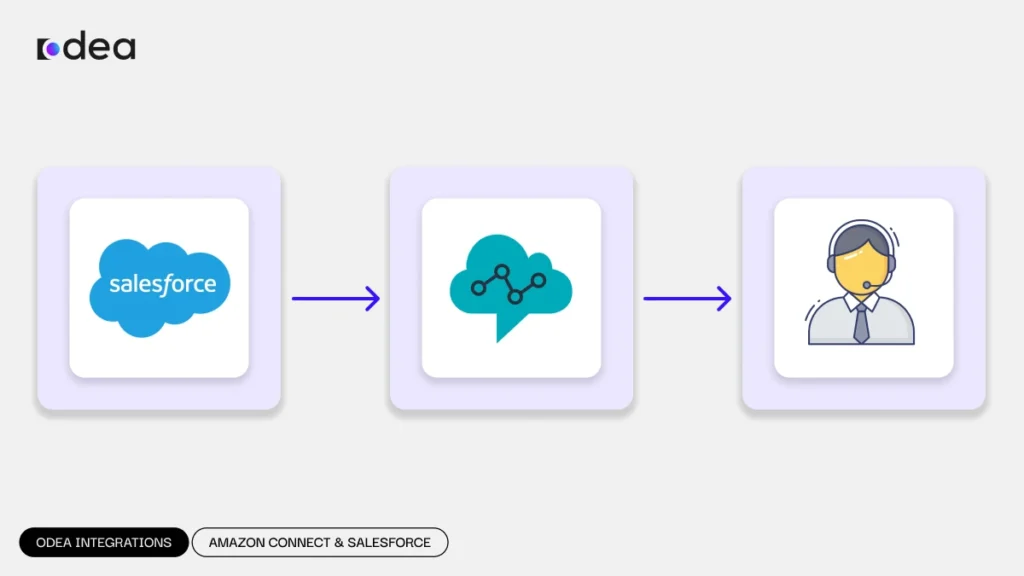
Amazon Connect Salesforce integration is the process of connecting Amazon’s cloud-based contact center service with Salesforce’s CRM platform. This integration makes it easy to exchange data between systems, meaning your agents will always have the information they need in real time.
Seamless Data Sync
The moment a customer contacts your business, relevant data—like name, account number, previous purchases, or even IVR inputs—flows directly into the Salesforce interface. Agents no longer must dig for details; they’re served everything on a silver platter.
- A 360° Customer View
All touchpoints—calls, chats, notes, tasks, and case updates—are unified in one place. This centralized view ensures that no context is lost, even when cases are handed off between departments or reopened weeks later.
Practical and Operational Benefits of Odea Integration
By choosing Odea Integrations as your service provider, businesses can experience direct, tangible benefits. These benefits are reflected in our tailored, customizable solutions that evolve alongside your company’s growing needs.
Tailored Solutions That Scale with Your Business Needs
Odea’s solutions are not one-size-fits-all. We provide integrations that are flexible and scalable, designed to meet the unique requirements of each industry and client. Whether your business is a start-up or an enterprise, we ensure that our integrations remain relevant and effective as your business grows and changes.
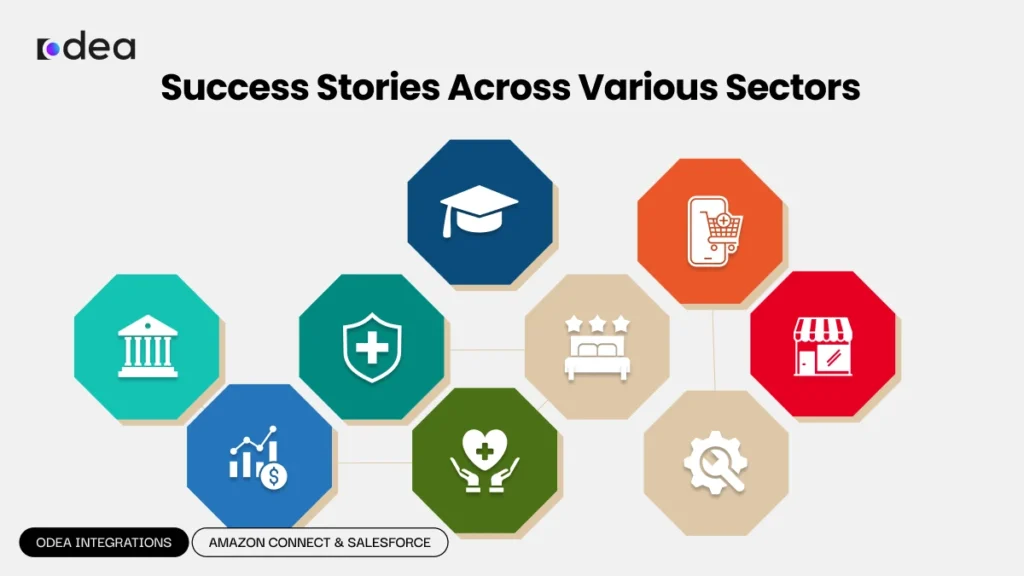
Success Stories Across Various Sectors

Odea has delivered exceptional results across several industries by optimizing customer service and operational processes. Here are a few examples of how our solutions have benefited various sectors:
- Healthcare: A healthcare provider significantly improved patient wait times by integrating Amazon Connect with Salesforce, giving agents real-time access to patient records, leading to faster and more accurate responses.
- Retail & E-commerce: Odea’s integration allowed a leading e-commerce business to streamline customer support and order management, leading to a 25% increase in customer satisfaction due to quicker resolutions and smoother interactions.
- Banking & Finance: A financial institution benefited from enhanced account verification, with real-time updates, reducing customer service handling time and improving first-call resolution.
These real-world examples showcase how Odea’s tailored integration solutions help businesses deliver faster, smarter customer service while boosting operational efficiency.
Practical and Operational Benefits of Odea Integration
By choosing Odea Integrations as your service provider, businesses can experience direct, tangible benefits. These benefits are reflected in our tailored, customizable solutions that evolve alongside your company’s growing needs.
- Tailored Solutions That Scale with Your Business Needs
Odea’s solutions are not one-size-fits-all. We provide integrations that are flexible and scalable, designed to meet the unique requirements of each industry and client. Whether your business is a start-up or an enterprise, we ensure that our integrations remain relevant and effective as your business grows and changes. - Success Stories Across Various Sectors
Odea has delivered exceptional results across several industries by optimizing customer service and operational processes. Here are a few examples of how our solutions have benefited various sectors: - Healthcare: A healthcare provider significantly improved patient wait times by integrating Amazon Connect with Salesforce, giving agents real-time access to patient records, leading to faster and more accurate responses.
- Retail & E-commerce: Odea’s integration allowed a leading e-commerce business to streamline customer support and order management, leading to a 25% increase in customer satisfaction due to quicker resolutions and smoother interactions.
- Banking & Finance: A financial institution benefited from enhanced account verification, with real-time updates, reducing customer service handling time and improving first-call resolution.
These real-world examples showcase how Odea’s tailored integration solutions help businesses deliver faster, smarter customer service while boosting operational efficiency.
Why It Matters: Key Benefits of Integration
Implementing Amazon Connect Salesforce integration delivers both tactical and strategic benefits:
- Real-Time Contextual Awareness: Agents are informed from the first ring. Customer details populate instantly, allowing personalized greetings and accurate support.
- Automated Call Logging: No more manual data entry. Every interaction is recorded in Salesforce automatically, boosting accuracy and saving valuable time.
- Smarter Task Management: Agents can trigger workflows such as sending follow-up emails, escalating cases, or assigning tasks—all from within the CRM.
- Omnichannel Efficiency: Route voice, email, and chat seamlessly to the right team based on predefined rules, past interactions, or priority levels.
- Improved First Contact Resolution (FCR): Access to complete histories enables agents to resolve issues in one go. Want to learn how CTI can significantly enhance FCR rates? Read this in-depth guide.
Ultimately, better tools lead to happier agents—and happy agents make for delighted customers.
Looking for alternatives beyond Salesforce? Explore Zendesk CTI Integration for equally powerful results.
Industry Use Cases
This integration isn’t just a fit for tech-savvy start-ups—it’s adaptable across industries:
- Retail & E-commerce: Quickly process refunds, track shipments, and resolve product inquiries without delay.
- Healthcare Providers: Ensure patient privacy while allowing support staff to pull up appointment history or insurance info.
- Banking & Finance: Support agents can securely verify accounts, review transaction histories, and even cross-sell relevant products.
- Telecommunications: Reduce churn by providing support teams with billing info, device status, and service plans in real time.
- Travel & Hospitality: Help guests manage bookings, special requests, and loyalty programs—all in a single interaction.
Each industry faces its own service challenges, but the goal remains the same: faster resolutions and more personalized support.
Core Features and Components

To implement Amazon Connect Salesforce integration effectively, a few essential components come into play:
- Amazon Connect CTI Adapter for Salesforce
This adapter lets agents handle calls directly within Salesforce. It typically includes:
- Click-to-Dial functionality
- Screen pops with customer information
- Softphone controls like mute, hold, and transfer
Installation is simple:
- Install via Salesforce AppExchange
- Link to your Salesforce Call Center settings
- Customize the Service Console to fit your team’s needs
- Custom Workflows and Automation
Salesforce’s Process Builder and Flow tools let you define rules: when a call ends, you can trigger an email, assign a follow-up, or even escalate a high-priority case. These automations minimize repetitive work while increasing consistency.
Curious about what makes a CTI connector truly effective? Discover the essential features to look for in our detailed guide.
- Intelligent Routing
Amazon Connect’s skills-based routing ensures that customers are always sent to the most qualified agent. Add in Salesforce’s rich customer data, and you’ve got a highly responsive, intelligent contact center.
- Real-Time Dashboards and Reporting
Monitor key metrics like Average Handle Time, First Call Resolution, and customer satisfaction directly from Salesforce. These insights help managers coach more effectively and optimize staffing.
How to Get Started with Odea Integration
Getting started with Odea Integration is simple and straightforward. Here’s a step-by-step overview of our process:
- Initial Consultation: We begin by understanding your unique needs and challenges. Our team will work with you to map out your business requirements, desired outcomes, and any specific industry nuances.
- Customized Solution Design: Based on your goals, we design a tailored integration solution that fits perfectly with your existing systems, ensuring smooth and efficient operations.
- Seamless Implementation: Our expert team will handle the entire setup process, from installation to configuration. We ensure that everything is tested and optimized for peak performance.
- Ongoing Support & Optimization: After integration, we provide continuous support to ensure that your system remains efficient and effective. We monitor performance and suggest optimizations based on real-time data and evolving business needs.
- Training & Empowerment: To ensure your team is fully equipped to use the new system, we offer training sessions that cover all key features, from basic functions to advanced AI-driven capabilities.
Common Challenges and Misconceptions
Like any digital transformation, this integration isn’t without its hurdles:
- Complex Field Mapping: Matching the right data points between systems requires thoughtful planning.
- Access Permissions: Misconfigured roles in Salesforce can hinder data visibility or cause call control issues.
- Training Gaps: Without proper onboarding, agents may underutilize the integration, missing out on its full benefits.
- Latency or Sync Errors: If systems aren’t optimized, users may experience delays or dropped data packets.
The good news? Most issues are avoidable with the right implementation partner and a clear rollout plan.
How Odea Simplifies the Journey
At Odea Integration, we don’t just provide a standard setup—we craft customized solutions tailored to meet the unique needs of your business. Whether you’re a fast-growing start-up or an established enterprise, our team partners with you to fully understand your challenges, objectives, and industry-specific demands. Here’s how we differentiate ourselves:
- Tailored Solutions for Every Business: We understand that no two businesses are the same. That’s why we design scalable, flexible integration solutions that evolve with your business needs. From enhancing customer service and streamlining operations to optimizing your CRM, our solutions are always customized to match your exact goals.
- Advanced Technology for Smarter Service: We integrate cutting-edge technologies like Artificial Intelligence (AI) and Machine Learning (ML) into your workflows to deliver smarter, faster customer experiences. By incorporating AI-driven insights, we help predict customer needs and personalize interactions. For example, AI algorithms can analyze past interactions to suggest the best course of action for agents, reducing response times and increasing efficiency. Additionally, machine learning can help identify recurring customer issues, enabling agents to proactively offer solutions before problems escalate. These capabilities not only improve customer satisfaction but also ensure that every interaction feels seamless and personal.
- Expertise Across Industries: At Odea, we bring a wealth of expertise across various industries, enabling us to deliver specialized solutions that cater to sector-specific challenges. We’ve worked with:
Finance: Providing secure, compliant customer interactions with real-time access to financial data, transaction histories, and quick resolutions.
Healthcare: Ensuring patient privacy and compliance while improving engagement and service delivery with seamless data access and personalized support.
Retail & E-commerce: Optimizing order fulfillment, resolving returns, and enhancing the customer shopping experience with real-time insights and automated workflows.
Conclusion
Let’s turn your vision into reality. Contact us now and let’s explore the endless possibilities together.
strategy that redefines the way your business engages with customers. This integration empowers your team with the tools they need to solve problems instantly, create meaningful connections, and foster deep, lasting customer loyalty.
Now, more than ever, businesses need to adapt to an ever-evolving digital landscape. If you’re ready to take your customer experience to the next level and transform how your team interacts with clients, Odea Integration is here to lead the way.
Ready to Transform Your Customer Experience?
Don’t wait to innovate. Connect with us today to discover how Odea can help you build a smarter, more efficient, and future-ready contact center that will elevate your customer service and drive real growth.
Let’s turn your vision into reality. Contact us now and let’s explore the endless possibilities together.


